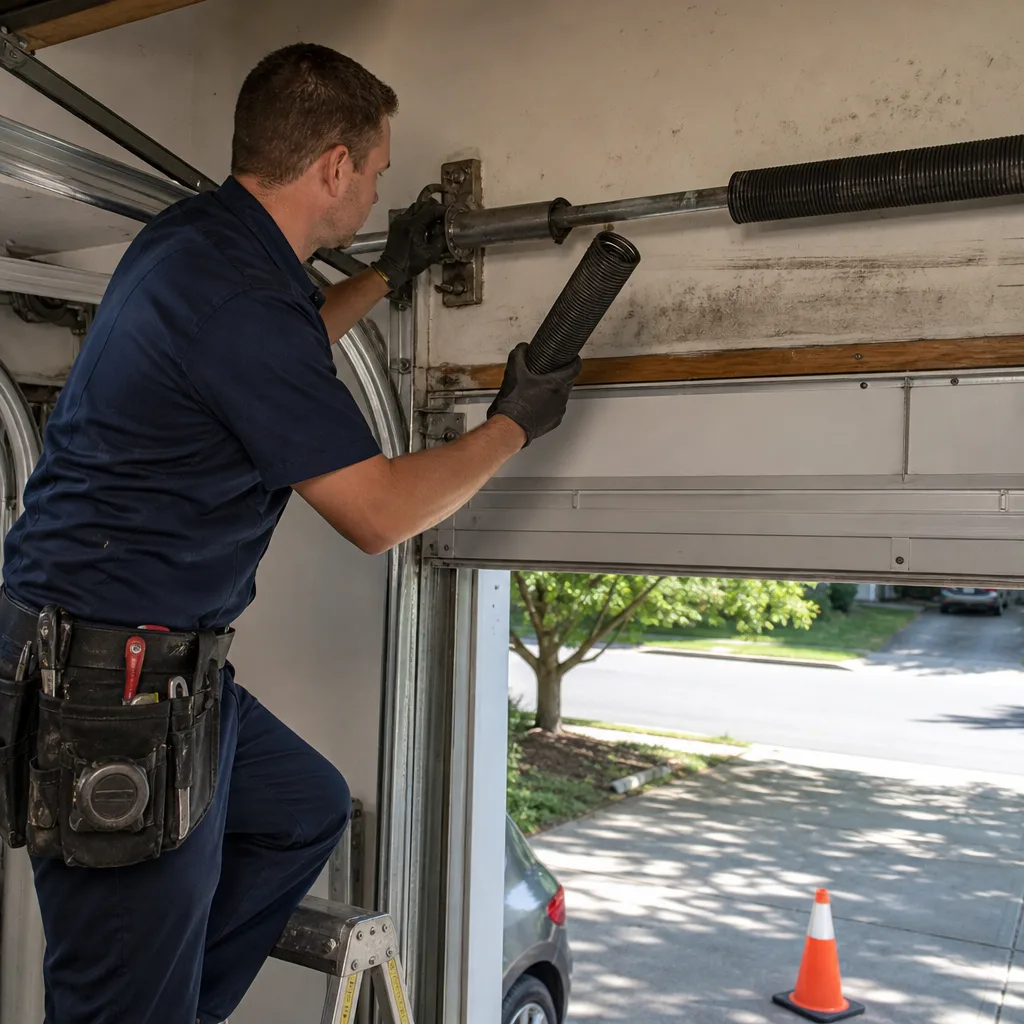
Last updated November 21, 2026
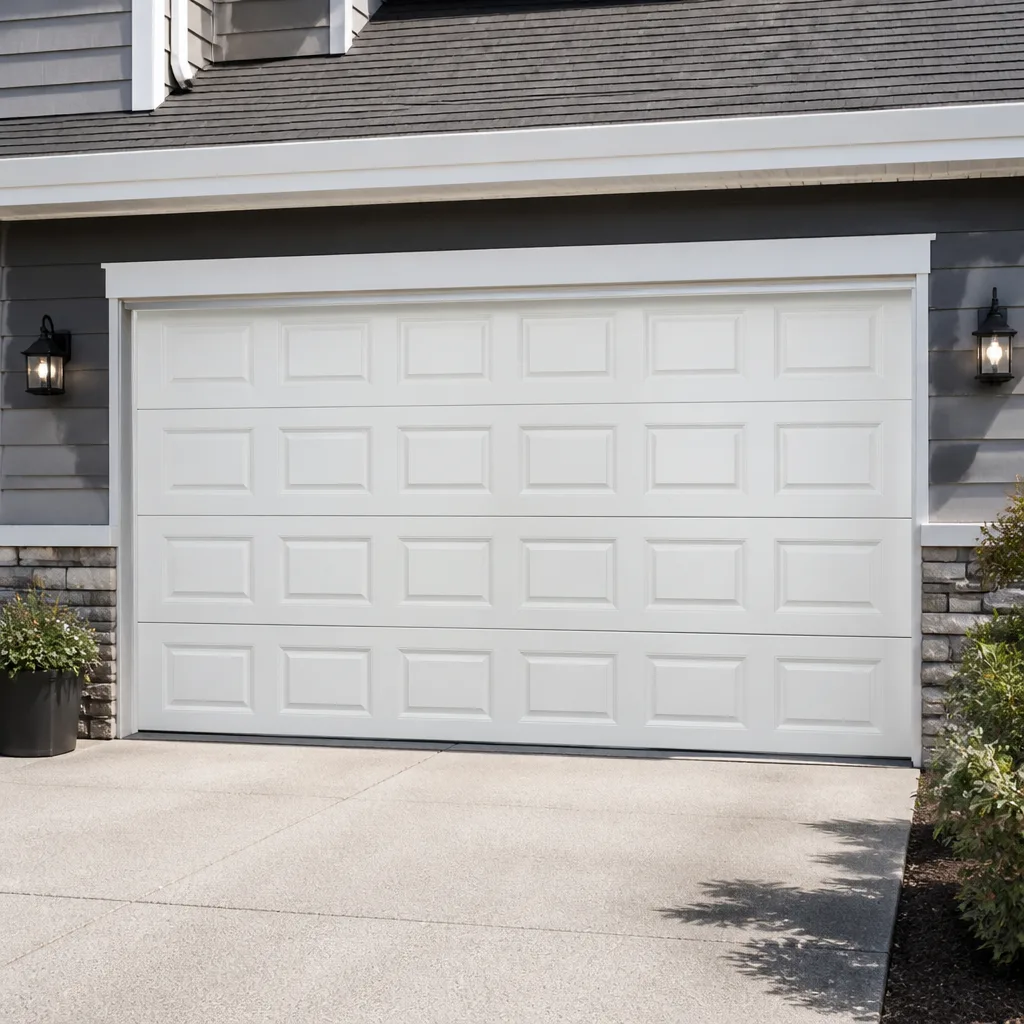 Raised-panel steel
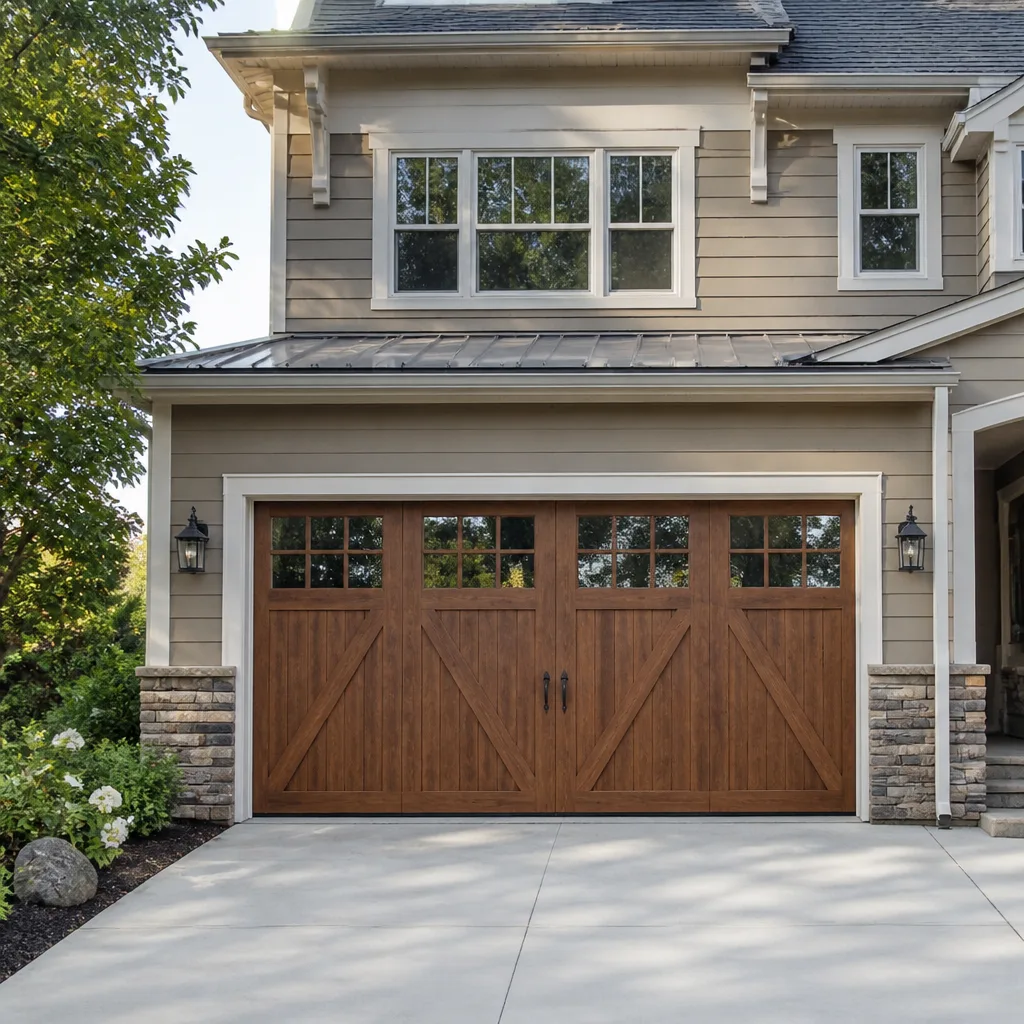 Carriage house
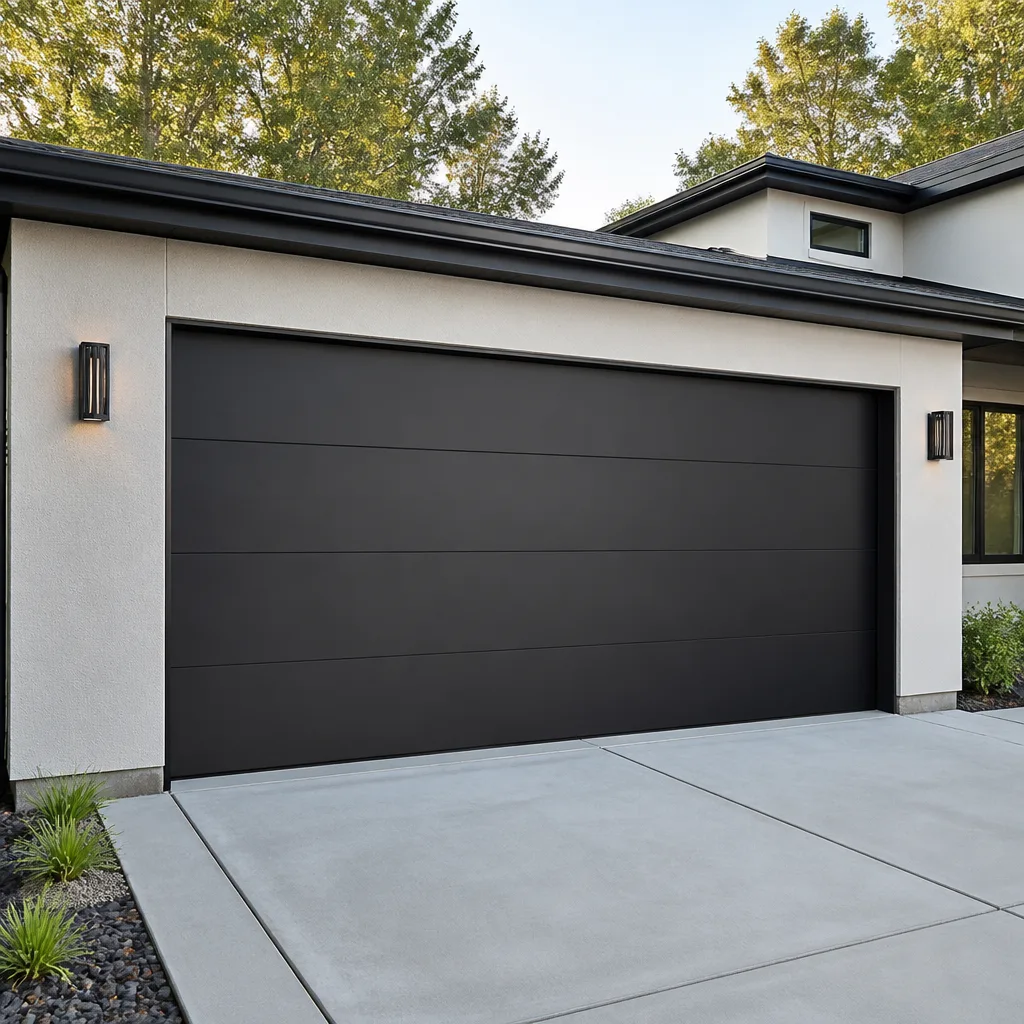 Modern flush
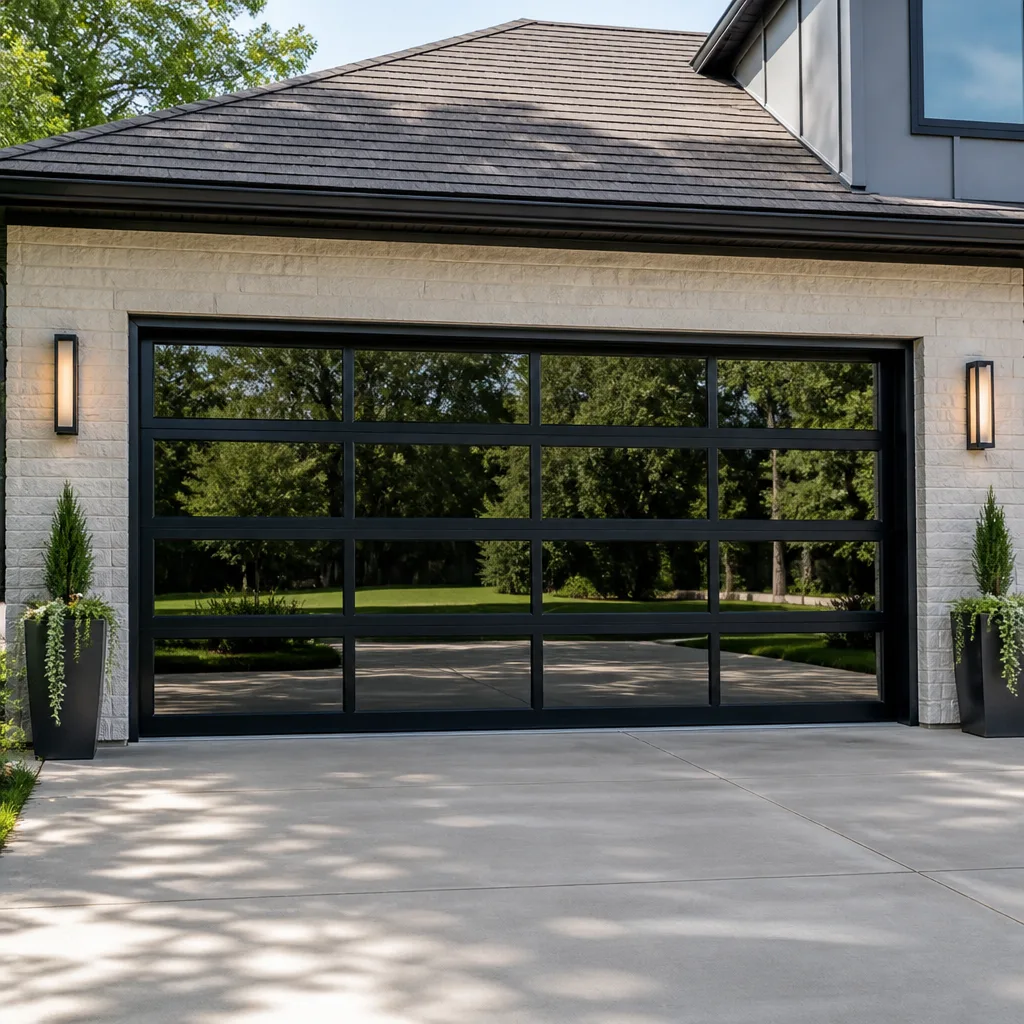 Full-view glass
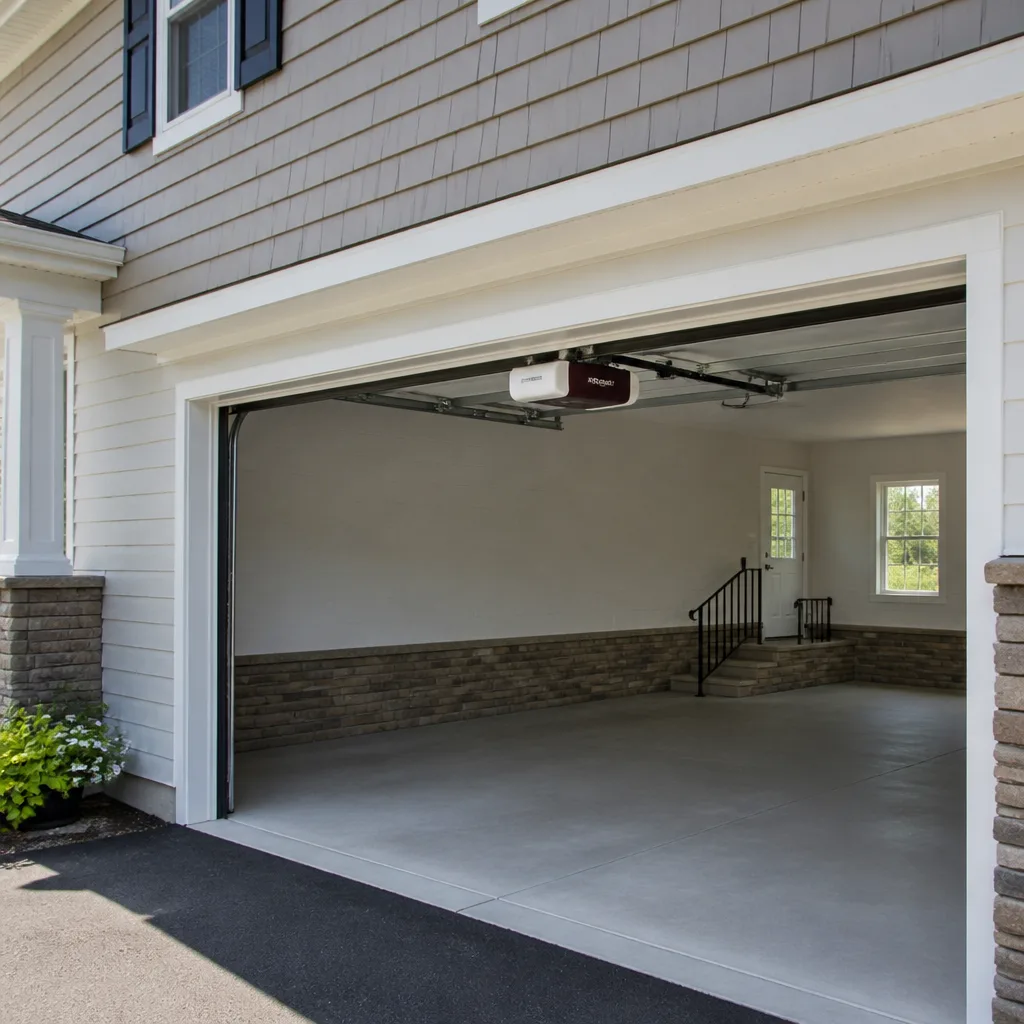 LiftMaster openers
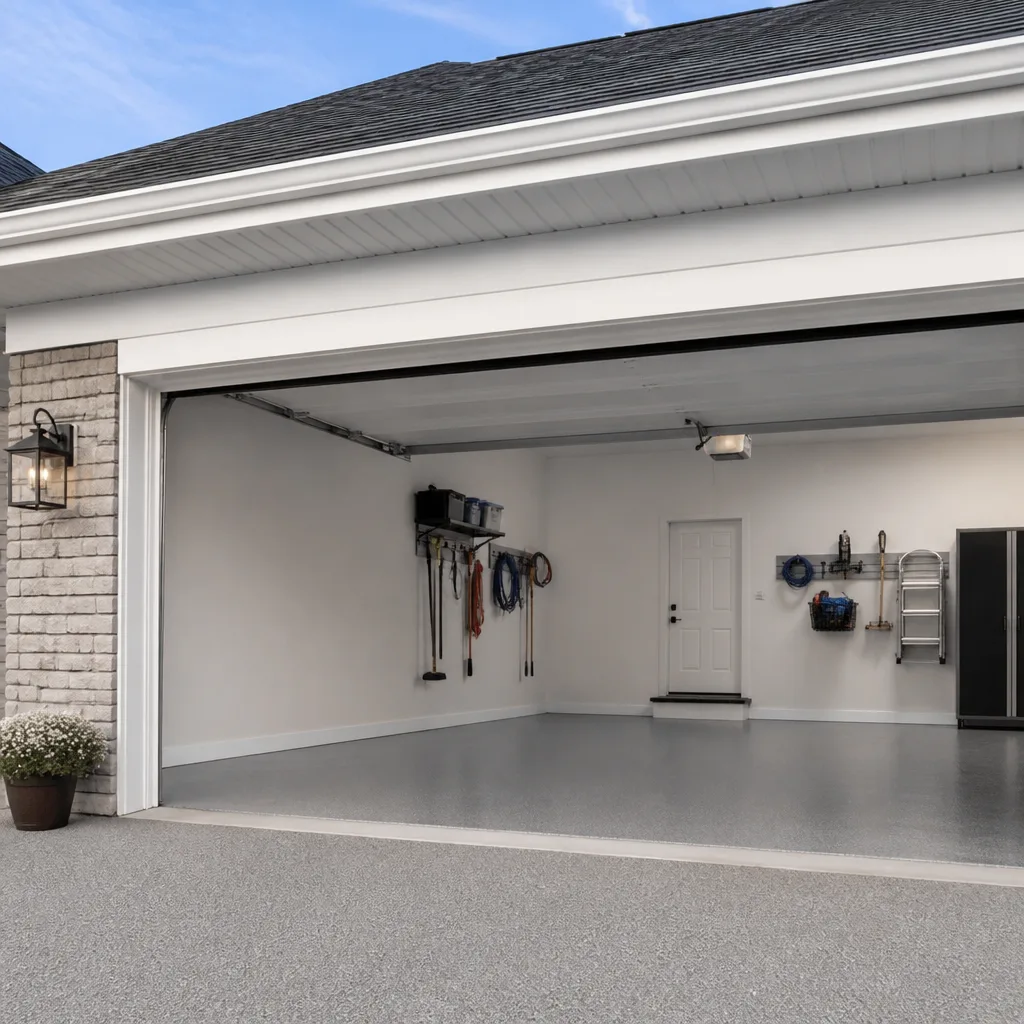 Chamberlain openers
Full 25-point door and opener safety check with every visit - springs, cables, rollers, tracks, and your LiftMaster or Chamberlain opener included
You get a price before we start. It does not change when the pro arrives.
Get your free estimateGarage Door Repair Maintenance Checklist for Columbia Homeowners
A loose limit bolt in October is a five-minute adjustment. That same bolt, ignored through a Columbia winter full of freeze-thaw cycles, can become a bent track and a repair bill by March. Timing is everything with garage doors, and most checklists miss that point entirely. They hand you ten generic chores with no sense of when to do them or what a failing part actually looks like. This guide is built around Columbia’s real seasonal calendar: the summer humidity that swells wood and stresses hardware, the first hard freeze that finds every weak spot, the spring pollen that clouds photo-eye lenses. You’ll learn which tasks are safe to handle yourself, which belong to a technician, and what to write down so your next service call goes faster. A little attention at the right time keeps a door running quietly for years.
Quick Answer
A garage door maintenance checklist for Columbia should be timed to the local climate, not run on a random schedule. Test the auto-reverse and photo-eye sensors monthly, lubricate springs, rollers, and hinges with a lithium or silicone product every season, and tighten bolts twice a year. Have a trained technician inspect springs, cables, and bottom brackets once a year, and always check the balance of the door before winter. Done at the right checkpoints, these steps catch small problems before Columbia’s freeze-thaw cycles turn them into expensive ones.
Styles & brands we work with
- Raised-panel steel
- Carriage house
- Modern flush
- Full-view glass
- LiftMaster openers
- Chamberlain openers
Table of Contents
- Columbia’s Seasonal Calendar: When to Check What
- Homeowner-Safe Tasks vs. Technician-Only Tasks
- How to Lubricate a Garage Door the Right Way
- Testing Auto-Reverse and Photo-Eye Sensors
- Checking Door Balance and Hardware Tightness
- Springs, Cables, and Bottom Brackets: Where the Line Is
- Building a Maintenance Log Your Technician Can Use
Columbia’s Seasonal Calendar: When to Check What
Most maintenance advice ignores where you live. A checklist written for Phoenix doesn’t help you in Columbia, where the year swings from sticky summer humidity to repeated winter freezes and back. Each of those transitions puts stress on the door in a different way. A garage door in Columbia is a metal and wood assembly that expands, contracts, and collects moisture all year. Spreading your checks across the calendar catches each of those stresses as it happens rather than after something fails.
Here’s how the year breaks down for a typical Columbia home.
- Spring (March – May): Pollen season coats the photo-eye lenses and the door’s weather seal. Doors that sat idle through winter often need their first full balance and sensor check. This is the month to clear the tracks and wash the sensors.
- Summer (June – August): Humidity peaks, and wooden panels swell. Metal hardware can bind as the humidity climbs. Watch for a door that suddenly sounds louder or slower than it did in the spring. This is a good checkpoint to re-lubricate hinges and rollers.
- Early fall (September – October): The last warm window before the first freeze. Tighten every bolt, check the balance, and note any small adjustment the door needs now. Small fixes made in October stay small. Left alone, they ride into winter.
- Winter (November – February): Freeze-thaw cycles are the real test. Moisture gets into hinges and tracks and expands when it freezes. A door that was fine in October can sound strained by January. Keep the tracks clear of ice and watch for sticking.
The through-line is simple: fall is for tightening, spring is for cleaning and testing. Everything else is a smaller checkpoint in between. Our technicians have up to 9 years of experience watching how a Columbia door behaves across these swing seasons, and the pattern holds from Wilde Lake to Long Reach. The doors that get a fall tune-up rarely surprise their owners in January. Budget your attention for October and April and the rest takes care of itself.
Homeowner-Safe Tasks vs. Technician-Only Tasks
Some maintenance belongs in your hands. Some does not. The difference isn’t about skill level, it’s about consequence. A lubricated hinge is a five-minute job with no downside. A spring under tension or a cable under load can cause serious injury if handled wrong, and no checklist is worth that risk. Knowing where the line falls keeps you safe and keeps your door honest.
Homeowner-safe means anything with no stored tension and no lifting. That covers:
- Lubricating springs, hinges, rollers, and tracks with the right product
- Tightening the bracket bolts you can reach with a wrench while the door is down
- Cleaning photo-eye lenses and clearing debris from the tracks
- Testing the auto-reverse with a cardboard box and the sensors with a pass-through test
- Washing the door panels and checking the bottom weather seal for cracks
Technician-only means anything under load or anything that requires lifting the door. That covers springs of any kind, the cables that run alongside them, the cable drums at the ends of the shaft, and the bottom bracket bolts that hold the cable at the door’s base. These parts store enormous energy. A spring or cable that fails while someone is reaching into it can break a hand or worse. A professional uses proper winding bars and knows how to release tension safely. Our own spring repair capability is on staff for exactly this reason: we’d rather you never put your hands near a loaded spring.
If a cable looks frayed or a spring looks stretched or broken, don’t touch it. That’s a call-the-professional moment, not a DIY one. Same goes for the bracket bolts at the very bottom corners of the door, which hold the cable tension. Leave them to someone trained for it and your door stays safe.
How to Lubricate a Garage Door the Right Way
WD-40 is not a lubricant for garage doors. It’s a solvent and water displacer, and spraying it on your springs and rollers actually strips the grease that’s supposed to stay there. The right product is a lithium grease or a silicone spray made for garage door hardware. Once you’ve got the right product, the job takes about fifteen minutes and makes a noticeable difference in how quietly the door runs. This matters in Columbia’s humid summers, when a dry door gets noticeably louder.
- Lower the door. Work with the door fully closed so there’s no tension on the moving parts you can safely reach.
- Spray the springs lightly. One pass on the visible coil and the ends is enough. Don’t soak them. You’re coating, not cleaning.
- Hit the hinges. A short spray at each hinge point where the metal folds. Wipe off excess.
- Oil the rollers. A drop on the metal stems of each roller, and a light coat on the wheel itself. Plastic rollers often need none at all.
- Run a light coat down the tracks. Use a rag or a silicone spray, not grease. Grease in the tracks attracts dirt and makes things worse.
- Cycle the door two or three times. Open and close it and listen. It should sound smoother and quieter.
Lubrication every season is right for most Columbia homes. But check whether it’s overdue before you reach for the bottle. Signs it’s overdue: a squeal or creak that starts as the door moves, a door that shudders on one side, or visible dry rust on the rollers. Signs lubrication has already failed somewhere: metal-on-metal grinding that doesn’t go away after lubricating, or a hinge that’s bent or cracked. Grinding that persists usually means a worn roller or a bent track, not a missing coat of grease. Lubricating a worn part hides the symptom for a week and makes the eventual repair bigger. Knowing the difference is the whole point of doing this check on a schedule.
Testing Auto-Reverse and Photo-Eye Sensors
Two separate safety systems protect a closing door, and both need testing regularly. The auto-reverse responds to resistance, stopping and reversing if the door meets an object. The photo-eye sensors are the two lenses near the floor that detect a person or pet in the path. A door that fails either test is a real risk to anything under it, whether that’s a child, a pet, or a car pulling out. Columbia homeowners should test both monthly, and always after a power outage that may have reset the opener.
Doing the tests right means following the manual for your opener, since the reset steps differ by brand. But the checks themselves work the same way.
- Auto-reverse test: Open the door fully, then lay a piece of cardboard or a 2×4 flat on the ground under the door and press Close. The door should reverse when it meets the object. If it crushes the box or pushes the wood aside, the force setting is wrong.
- Photo-eye test: With the door open, pass a hand or a broom through the invisible beam between the two lenses near the floor while it’s closing. The door should stop and reverse immediately. If it doesn’t, the sensors are misaligned, dirty, or not getting power.
- Alignment check: Look at the small indicator light on each lens. A steady light on both means they’re aligned. A blinking or dark light means one lens has lost sight of the other.
- Cleaning: Wipe both lenses with a soft cloth. In Columbia, the spring pollen and summer dust coat these lenses constantly, and a simple wipe fixes more “sensor failures” than you might think.
The two tests measure different things, and that’s important. The cardboard test measures whether the opener’s force setting will reverse the door before it hurts something. The photo-eye test measures whether the invisible beam is unbroken. A door can pass one and fail the other. Both need to pass. If you clear and align the lenses and the auto-reverse still won’t trigger, that’s the moment to call a technician rather than reach into the opener head yourself.
Checking Door Balance and Hardware Tightness
Door balance is the single most reliable early warning you can check yourself. A balanced door takes almost no effort to lift. A door that fights you is telling you its springs or its hardware are off. Checking balance is safe when done carefully, and it takes less than a minute.
- Open the door halfway and stop it. The door should hold in place, not sink or rise on its own.
- Let go slowly. A balanced door stays put. One that sinks means the springs are losing tension.
- Look, don’t tug. If the door drops when you let go, don’t pull it around to “test” it further. Note it and call a professional.
- Feel the lift. With the door closed and your opener released, lift the door a foot by hand. It should feel light. If you have to put your back into it, the springs need attention.
Tightness is the other half. With the door down, work your way around every bolt you can reach with a wrench. This includes the hinge bolts, the track bolts, and the bracket bolts that hold the tracks to the wall. Give each one a snug turn without cranking it. Columbia’s temperature swings expand and contract those bolts all year, and a door that’s slightly rattly by fall is usually a few loose bolts talking. Tighten them and much of the rattle goes away. If a bolt is stripped or spins without tightening, or if a track looks visibly bent or out of line, that’s a technician job. Never adjust the bolts at the very bottom corners of the door, the ones holding the cable. They carry tension and belong to a pro.
Springs, Cables, and Bottom Brackets: Where the Line Is
Springs do the heavy lifting that makes a garage door feel light. There are two common types, and both store a lot of energy. Torsion springs run on a shaft above the door. Extension springs run along the sides. Either way, they’re the most dangerous part of the system and the most ignored on a generic checklist. Our garage door spring repair is the service most other trades won’t touch, and for good reason.
You can maintain springs, you can’t repair them. What maintenance looks like on your end:
- A light coat of lithium or silicone on the coil, each season
- A visual note of the spring’s color code, usually painted on the end, so you know what’s installed
- Listening for a loud bang from the garage: that’s often the sound a spring makes when it snaps. If you hear it, don’t open the door.
What you don’t do is tighten the winding, adjust the tension, or handle the cables and cable drums. Those parts can throw a winding bar across the room or slice a hand if they let go. Even a professional treats them with respect and uses proper spring winding bars and clamps. A broken spring or a frayed cable doesn’t need a home fix, it needs a trained technician who can release the tension safely and install the right replacement. When a spring fails, the door is usually stuck in a dangerous half-open or closed state. Don’t try to force it.
The bottom bracket is the other part to leave alone. It sits at the bottom corner of the door and holds the cable that runs up the side. Loosening it under load is how people get hurt. If a cable is loose or frayed, or the door hangs crooked on one side, stop and call a professional.
Building a Maintenance Log Your Technician Can Use
A maintenance log makes every future service call faster and cheaper for you. When a technician knows what’s already been replaced and when, they skip the guessing and get straight to the diagnosis. It also tells you which parts are near the end of their life. A garage door isn’t a mystery machine if you keep notes. A page in a notebook or a note on your phone is enough.
Here’s what to track:
- Service dates: every technician visit, what brand they serviced, and what they did.
- Spring cycle count: springs are rated by cycles (one open-and-close). Note when springs were installed and, roughly, how many cycles a week your door sees. A family that uses the door six times a day wears springs faster than someone who leaves for work once.
- Opener model and firmware: note the model name and any firmware version on the opener or in its app. This matters most with LiftMaster, Chamberlain, and Genie openers, where the reset and setup steps change by version. Share it with your technician and they’ll know the system before they arrive.
- Brands on the door: the door panel brand (Amarr, Wayne Dalton, Clopay, or Clopay’s cousins are all common) and the opener brand. It helps the technician bring the right parts.
- Tightness and lubrication dates: when you last adjusted, when you last lubricated, and what product you used.
- Sensor test results: a quick note each month of whether auto-reverse and the photo-eye both passed.
The log is your best argument for timely service and your best tool when a problem starts. A pattern of “squeals in December, quiet again in March” tells a technician something a single visit can’t. Whether you drive a Craftsman opener or a LiftMaster door opener, the log keeps the whole system readable. It’s the underrated step in a good maintenance checklist, and it’s the one that saves the most time when something goes wrong. When it does, the right team can handle any garage door repair without starting from zero.
Common Mistakes to Avoid
- Reaching for WD-40. It strips existing grease and attracts dust. Use lithium grease or silicone spray instead, or you’ll be lubricating more often to make up for it.
- Touching a loaded spring or cable. The most common serious injury in this trade comes from someone reaching for a spring or bottom bracket “just to see.” Leave those to a trained technician.
- Ignoring the first freeze. Columbia’s October-to-November transition is when every loose bolt and worn hinge shows itself. A fall tune-up is cheaper than the winter repair it prevents.
- Letting pollen coat the sensors. A dirty lens looks like a sensor failure but isn’t. Wipe both lenses and pass the test before you assume the worst.
- Forcing the door when it fights you. A door stuck halfway with a broken spring isn’t meant to be run. Don’t yank it; a trained technician knows how to release it safely.
- Testing the auto-reverse with your hand. The cardboard or wood-block test is safe. Your hand is not. Use a rigid object and let the door meet it.
- Skipping the log. A quick note of service dates and opener model makes every visit faster. The homeowner who tracks is the one who avoids being blindsided by a worn spring.
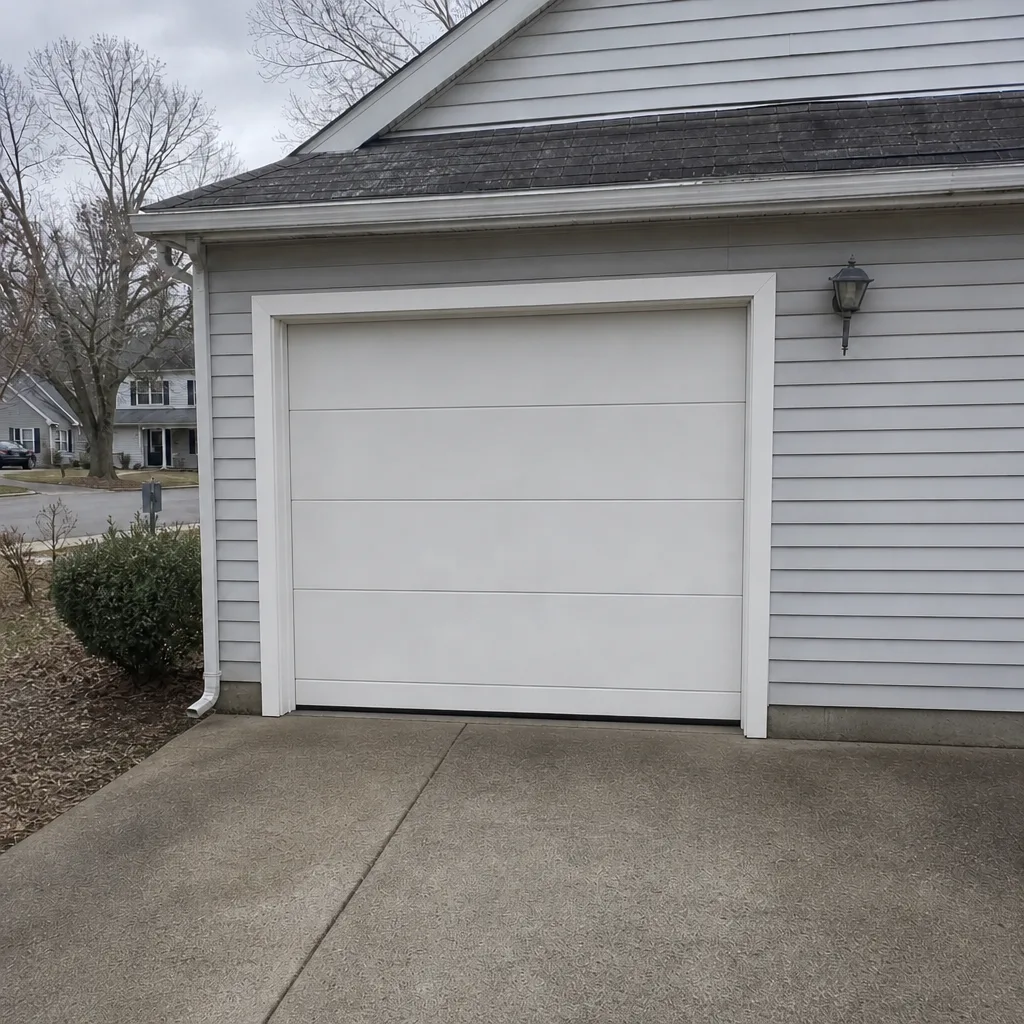
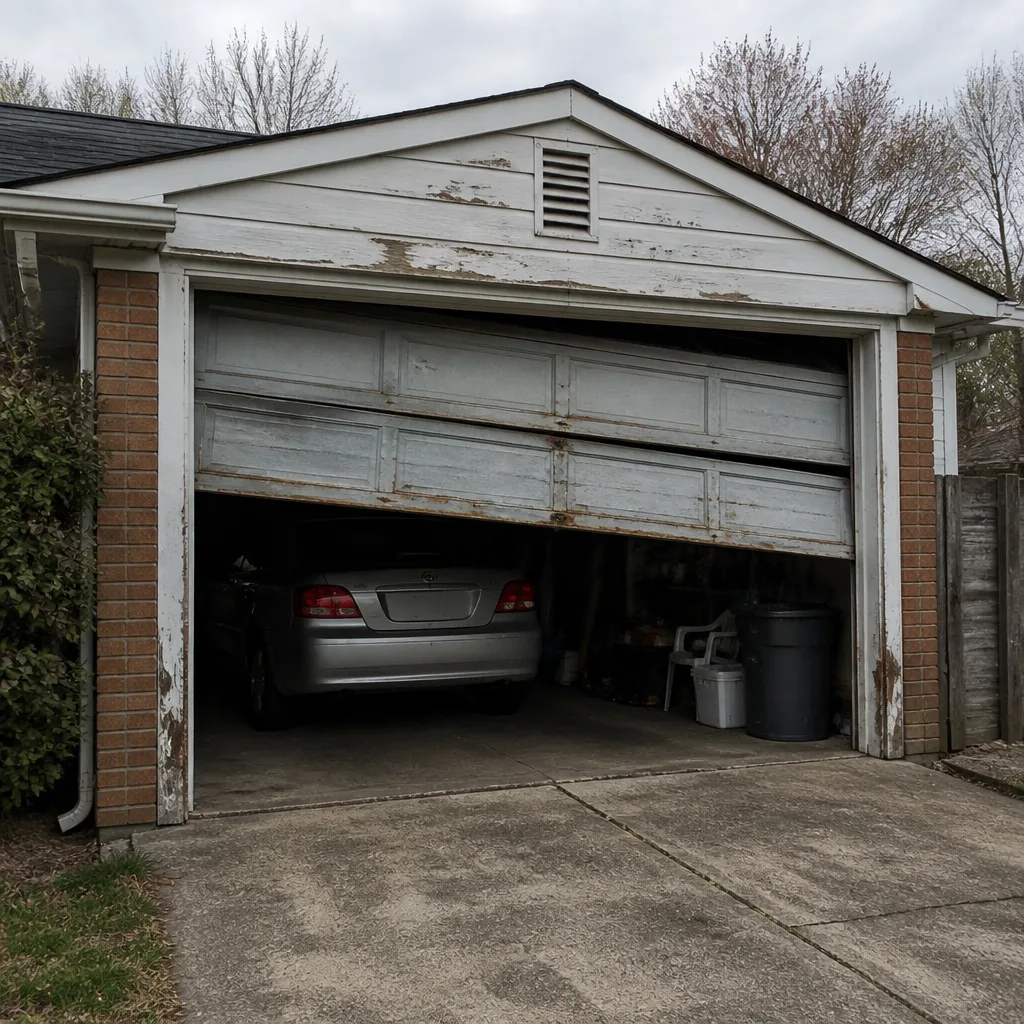
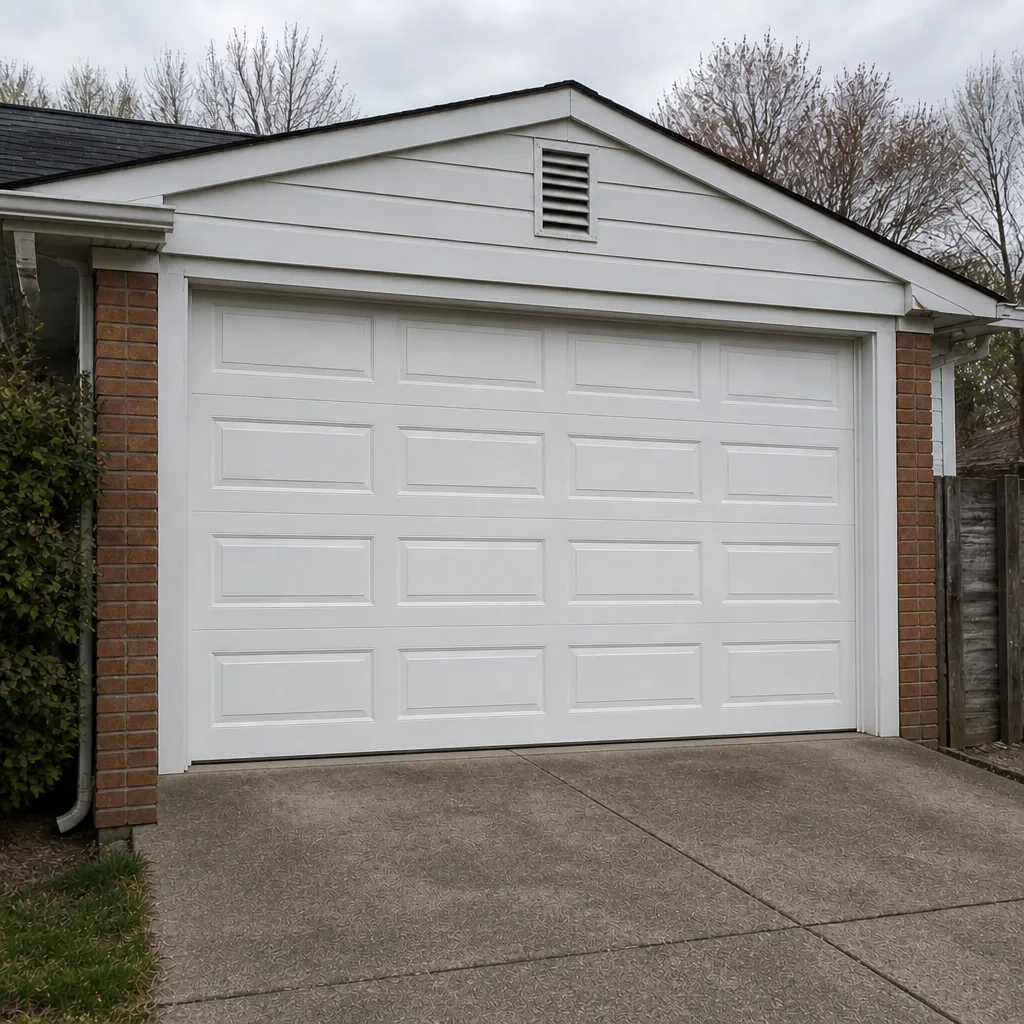
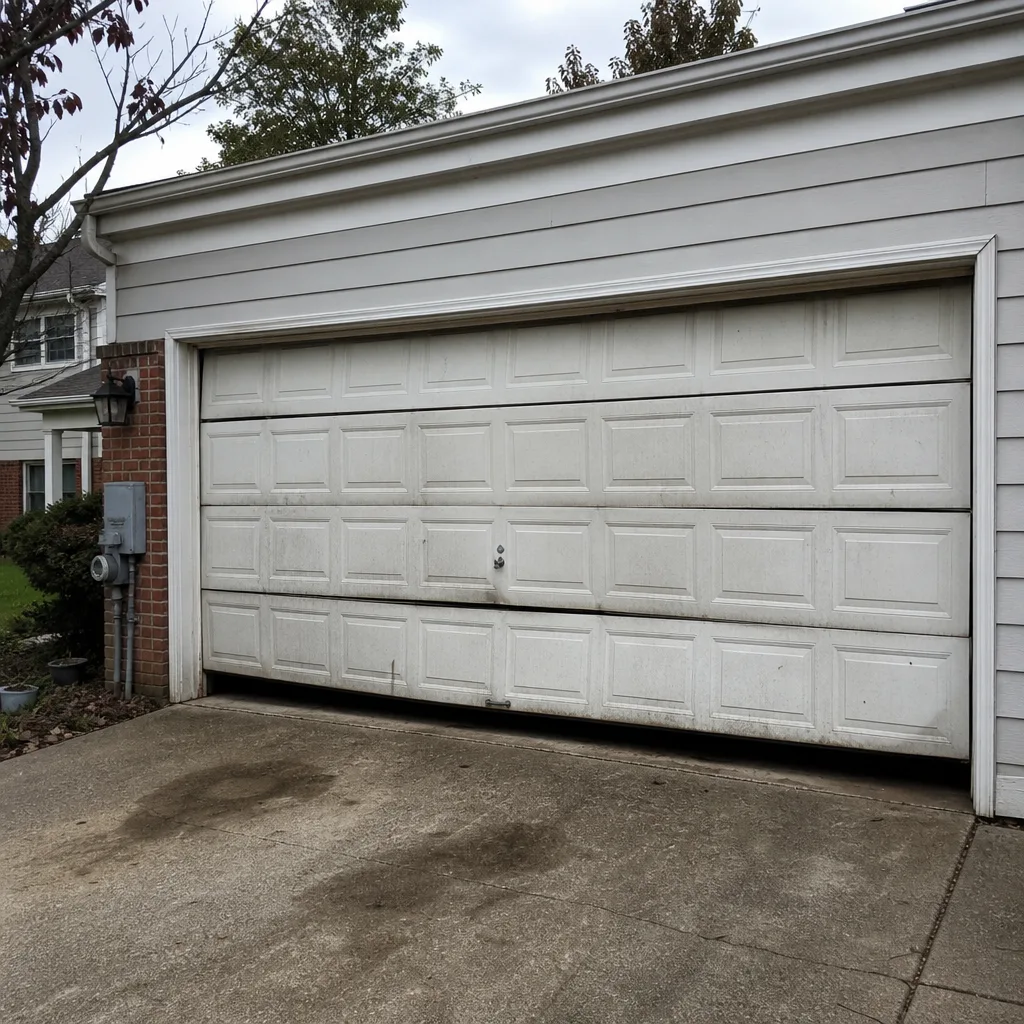
See the difference
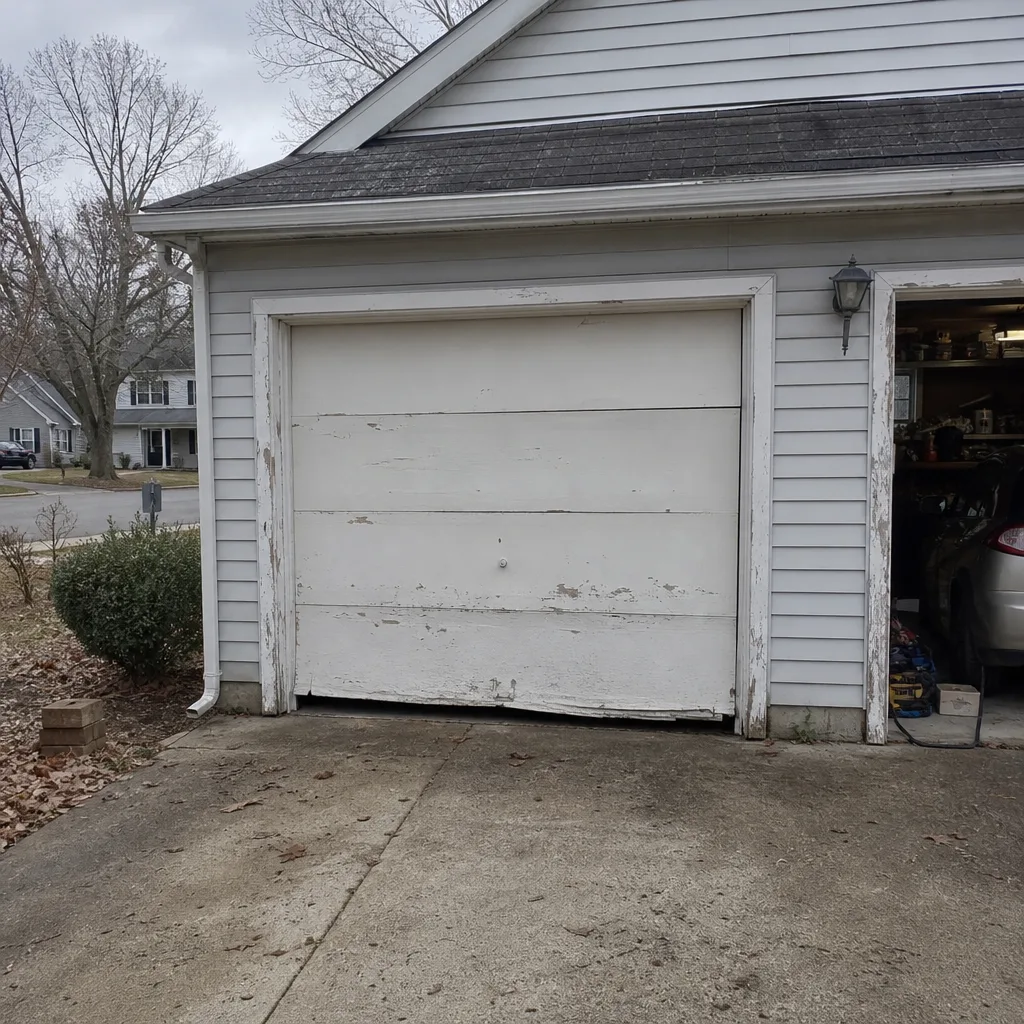 Before
 After
 Before
 After
 Before
 After
When to Call a Professional
Some things need a call, not a checklist. Call for a loose or broken spring, a frayed or hanging cable, a door that’s off its tracks or hanging crooked, a bottom bracket that’s loose, an opener that won’t power on, or a door that reverses immediately when you try to close it. These point to loaded parts or a safety system failure. A pro can diagnose and fix them safely. Our technicians are experienced across the systems installed in Columbia homes, and the local pro is licensed and insured as the state requires. When a door is stuck open and your home is exposed, emergency garage door service is a real service here, not an upsell. The price is quoted and agreed before work starts, so you won’t be surprised at the end. Columbia Garage Door Repair Pros offers free estimates in Columbia, call (844) 913-3261. One call reaches a specialist whose only trade is your door.
Frequently Asked Questions
Test the auto-reverse and photo-eye sensors monthly, lubricate the springs, rollers, and hinges every season, and tighten bolts twice a year. Have a trained technician inspect springs, cables, and bottom brackets once a year, ideally in early fall before the first freeze. Columbia’s humidity and freeze-thaw cycles make those October and April checkpoints the most valuable of the year. Call (844) 913-3261 for an exact quote on a professional inspection, estimates are free.
Yes, you can apply a light coat of lithium or silicone spray to the visible coil, never WD-40. You can’t adjust, wind, or repair a loaded spring. Anything requiring tension adjustment is technician work. Call (844) 913-3261 for a spring tune-up, estimates are free.
The cardboard test checks whether the opener’s force setting will reverse the door when it meets an object. Lay a piece of cardboard or a 2×4 flat under the closing door and see if the door reverses. It’s one of two safety tests; the other is the photo-eye pass-through test. Both need to pass before you trust the door.
Pollen in spring and summer dust coat the photo-eye lenses, which is the most common cause. A wipe of both lenses and a check of the indicator lights fixes most “failures.” If the lights won’t both go steady after cleaning and realigning, call (844) 913-3261 for a professional look, estimates are free.
A door that feels very heavy when lifted by hand, or a loud bang you heard from the garage, are the classic signs. If a spring is broken, don’t run the door. Leave it to a technician who can release the tension safely. For help, our garage door opener repair and spring service teams in Columbia can diagnose it, and estimates are free.
Yes. Whether the opener is a LiftMaster, Chamberlain, Genie, or a Craftsman model, we service the most common brands, including Amarr doors. A dead opener can come from a tripped breaker, a failed safety sensor, or a worn gear, and a technician sorts out which. Call (844) 913-3261 for a free estimate.
If you’d rather learn who we are first, start at Columbia Garage Door Repair Pros.
The Bottom Line
A good maintenance checklist follows Columbia’s seasons, not a random schedule. Tighten in fall before the freeze, clean and test in spring, lubricate every season, and leave springs, cables, and bottom brackets to a technician. Track your service dates, spring cycles, and opener model in a simple log so the next visit goes faster. These steps cost a little time and prevent the repairs that cost real money. Timing is the whole lesson. Treat the October tune-up as the important one and your door will carry you through a Columbia winter without surprises. Call (844) 913-3261 for a free estimate from our team, and keep your door back on track.
Written by the team at Columbia Garage Door Repair Pros.